Hand rolled gnocchi sardi pasta is a simple and easy pasta shape, perfect for a beginner. I'm often asked what is the best pasta shape to start with and I always suggest gnocchi sardi. It's almost impossible to mess up and the chewy texture is totally addictive. This will become a go-to pasta staple in your house.


Hello! If you are a new pasta maker, you probably want to get straight into rolling out some fresh egg pasta sheets. However this simple flour and water hand rolled shape is the perfect pasta making start. It is made with my very simple semolina pasta dough. If you have a gnocchi board that is great but if not, anything you have at home with a texture will work. I love using a microplane or cheese grater. This shape works perfectly with my nduja mac and cheese or roast tomato sauce.
It is made from a simple flour and water dough, exactly the same as my homemade orecchiette. The flour is a really fine semolina and will most likely be labelled as semola rimacinata. The dough comes together the exact same way as my easy homemade pasta dough, just using water instead of eggs.

What you need:
The flour - this shape and most hand rolled shapes are made with a durum wheat, it is a super fine semolina and will be labelled semolina rimacinata. It has a lot more structure than plain flour or '00' and has a magical bite to it when cooked.
Water - This is a flour and water dough, it's too easy! Flour and water doughs are really easy to bring together, much more simple than an egg dough. I like to use slightly warm water.
Gnocchi board - this is totally optional, you can use anything you have with a texture. A cheese grater is perfect and there are photos of this below.
Bench Scraper - This is an essential tool for me but you can definitely just use your hands. I use the bench scraper once you have finished with your fork and you need to start bringing the dough together. Cutting the mixture up and down with the scraper brings it together really easily into a nice shaggy dough ready for kneading.

How to make gnocchi sardi pasta
Full ingredient list and tutorial video are in recipe card below.
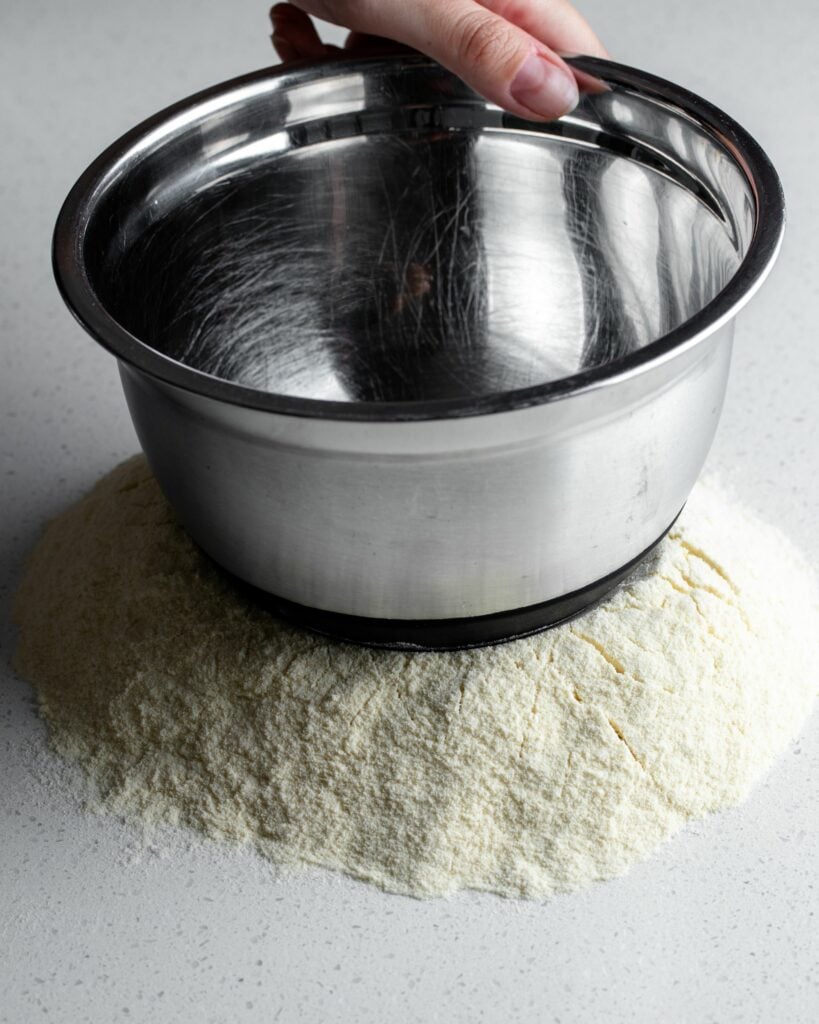
- Weigh your flour and make a pile on your bench, I like to use the bottom of a bowl to make a firm well in the middle where the water will go.
- Pour your water into the middle then use a fork to start mixing the flour in, bringing small bits at a time from the outside into the liquid. It will thicken quite quickly and when it gets really thick bring all the remaining flour into the middle with your hands or a bench scraper.
- This is where I use the dough scraper to cut the dough up and down and side to side to incorporate the flour and water together into a shaggy dough.


- Once you have an even shaggy dough bring it together into a ball, it will seem like a right mess at this point but I promise it will all come together!
- Squeeze the ball together and start to knead it, it needs a fair bit of elbow grease here. Knead for 3 - 4 minutes until it has a dimpled texture, then wrap it in cling film and rest for 10 minutes.
- After 10 minutes continue kneading for 3 - 4 minutes until you have a lovely smooth ball of dough. Wrap tightly and rest at room temperature for at least 30 minutes but preferably an hour or up to three.


Shaping the pasta
- Once the dough has rested, cut off one slice at a time, keeping the rest wrapped tightly. Pinch the slice together into a sausage shape.
- Start rolling it on a wooden board with your hands flat down working from the middle to the outside until you have a long strand about the width of your thumb.
- Cut into 2cm pieces then using your thumb roll it down your gnocchi board (or cheese grater!). You need to use a bit of pressure here so it curls over itself nicely. If it sticks then give your board a light dusting with flour. They come together pretty quick! I like to put them on a baking tray lined with baking paper and dusted with coarse semolina.


Why the double rest?
A tip I learnt from Evan Funke! It really is a game changer and does a lot of the work for you just by sitting untouched! When you are bringing this pasta dough together you are hydrating the flour with the water. It needs time to do this, so by resting it for that first 10 minutes you are giving it a chance to do so. You'll be quite surprised how different the dough feels after that first rest. It means you won't have to knead it for as long as you would normally.
Would you like to save this?
Is there a faster way to make pasta dough?
Yes! A really quick way to bring the semolina pasta dough together is in a food processor! As much as I mention that making pasta dough should be a relaxing and meditative process, sometimes you just want a shortcut.
Place the flour and water in a food processor and pulse until evenly combined. You can't over do it so don't worry. Pulse until it looks like it wants to start coming together in a ball. Turn it off then squeeze it all together in the processor, then bring it out onto the bench and knead.
You won't need to knead it very long only a minute or two, then wrap it up for the first rest and continue as normal.

How to store the pasta
They can be cooked straight away or left out on the bench for 20 - 30 mins covered with some plastic wrap. Any longer than that you can put them in the fridge as long as your tray is dusted really well with some semolina as they can stick.
I am a big fan of freezing, even if I am having them that day. I will place the tray into the freezer, uncovered until they are frozen, then transfer to a container or snap lock bag. They cook really well from frozen.
Sauces to try!
You've made some delicious gnocchi sardi now you need some sauce inspo right? Check out my recipe section for lots of ideas. ANYTHING will work with this shape. My White Pork Ragu is hands down one of my favourites. For something simple my Anchovy Butter Pasta is delicious. My Cheesy Nduja Pasta is one of my personal faves too!

Made this recipe and loved it?
I would love love LOVE if you could leave me a review down below and let me know what you thought! Also if you put a photo on instagram, please tag me so I can see, it makes my day!
Recipe

Hand rolled gnocchi sardi pasta
Would you like to save this?
Ingredients
- 1 x batch of my semolina pasta dough
Instructions
- Make sure you check out the photos above for the process!
- Prepare a tray lined with baking paper and dusted with a layer of coarse semolina so they don’t stick.
- Slice a section off the ball and form it into a sausage shape then with your hands really flat against the board roll it until it is long and even, starting in the middle and working out with your fingers splayed.
- Cut the strip into pieces around 2cm. Using a gnocchi board or anything with a texture, roll the little pieces down the board with your thumb until they curl over themselves. Press quite hard so that they don't end up too thick, you’ll get the hang of it after a few. If your pieces are sticking, dust your board with some flour.
- Repeat until all your dough is used up. They are fine sitting out at room temp if you are going to use them straight away. If not, pop the tray uncovered into the freezer until frozen then place into a container or snap lock bag and keep in the freezer to be cooked from frozen.
- Use them with any pasta sauce you like. Boil in well salted boiling water for 2 - 3 minutes. They will have a thick chewy texture.


Eileen Shea says
A great beginner pasta! So satisfying and fun to make, love all of your recipes <3
Emilie Pullar says
Yay thanks so much Eileen!! Love this shape so much 🙂
Karen says
Brilliant recipe and an absolute breeze to make - they look so impressive and the tip to roll on the back of a micro plane grater a winner! Easy to freeze and add to the creamy tomato sauce too.
Alexie G says
If you wanna impress your guests .. look no further. I love that I can freeze them and it still tastes amazing. The best gnocchi sardi ever !
Emilie Pullar says
Love this shape so much 🙂
Alli Snell says
I have made this 3 times in the last fortnight!
Clear and helpful instructions as always, this comes out so chewy and yummy. I made a pesto sauce, roasted tomato sauce and brown sage butter where I fried the gnocchi in the pan with the butter. The combination of the chewiness and the crispy bottom was devine
Emilie Pullar says
I have never thought to fry these! Such a great idea!