Cappelletti is a really easy filled pasta shape that you can make at home. This step-by-step guide will have you folding them like a pro in no time! All you need is a pasta sheet and the ravioli filling of your choice. It's a really simple shape and can be made quite quickly.

Hi! I am writing up this guide on how to make cappelletti pasta at home. It's a simple circle with a couple of folds and it's a shape I often teach people who have never made ravioli before.
You'll need my Easy Homemade Pasta Dough recipe and then a filling. I would opt for my Simple Ricotta Ravioli Filling if you want something easy. Otherwise check out my filled pasta recipes for some more ideas.
Ingredients and equipment
Pasta dough - Use my easy homemade pasta dough, it's perfect! There is also a rolling guide in that post to roll the perfect pasta sheets.
Pasta Machine - Pasta sheets for filled shapes need to be quite thin so rolling through a pasta roller is key. I use both a Marcato pasta machine and the Kitchen Aid pasta roller attachment.
Wooden cutting board - It's the best surface to make pasta on and especially to cut the circles out.
Cookie cutter - You can use whatever size you like. I use an 8cm (3.15 inch) round cookie cutter. You could use a glass and run around the edge with a knife too. A cookie cutter is great because it's sharp so you can punch out perfect circles quickly.
Piping bag - This is definitely optional but I find piping fillings onto pasta for filled shapes is quicker and cleaner. Just use a teaspoon if you want.
Baking sheet - You'll place the finished cappelletti on a baking sheet or tray lined with parchment paper and dusted with coarse semolina.

What filling should I use?
If you haven't made filled pasta much before go for my Simple Ricotta Ravioli Filling. It's an easy one bowl filling with ricotta, parmesan cheese, lemon, salt and black pepper.
A trick I like to do is freeze a small container of bolognese or any other meat ragu I make to have on hand for ravioli fillings. My White Pork Ragu makes an amazing filling. Check out my filled pasta section for other ideas.
The filling pictured is a smoked salmon, ricotta and lemon filling. This is the finished dish and it's a recipe I wrote for Yealands. Check out the recipe for Smoked Salmon cappelletti in a Lemon Cream Sauce.

How to make cappelletti
Make sure you check out the video tutorial in the recipe card below.

- Roll out a pasta sheet and cut out as many circles as you can with a 8cm (3.15 inch) cookie cutter.

2. Pipe or dollop a teaspoon of filling into the middle of each circle.

3. Fold the circle in half, pressing all the air out. I start on one side of the filling, pressing the air out as I make my way around.

4. Press the two layers of pasta together really firmly .

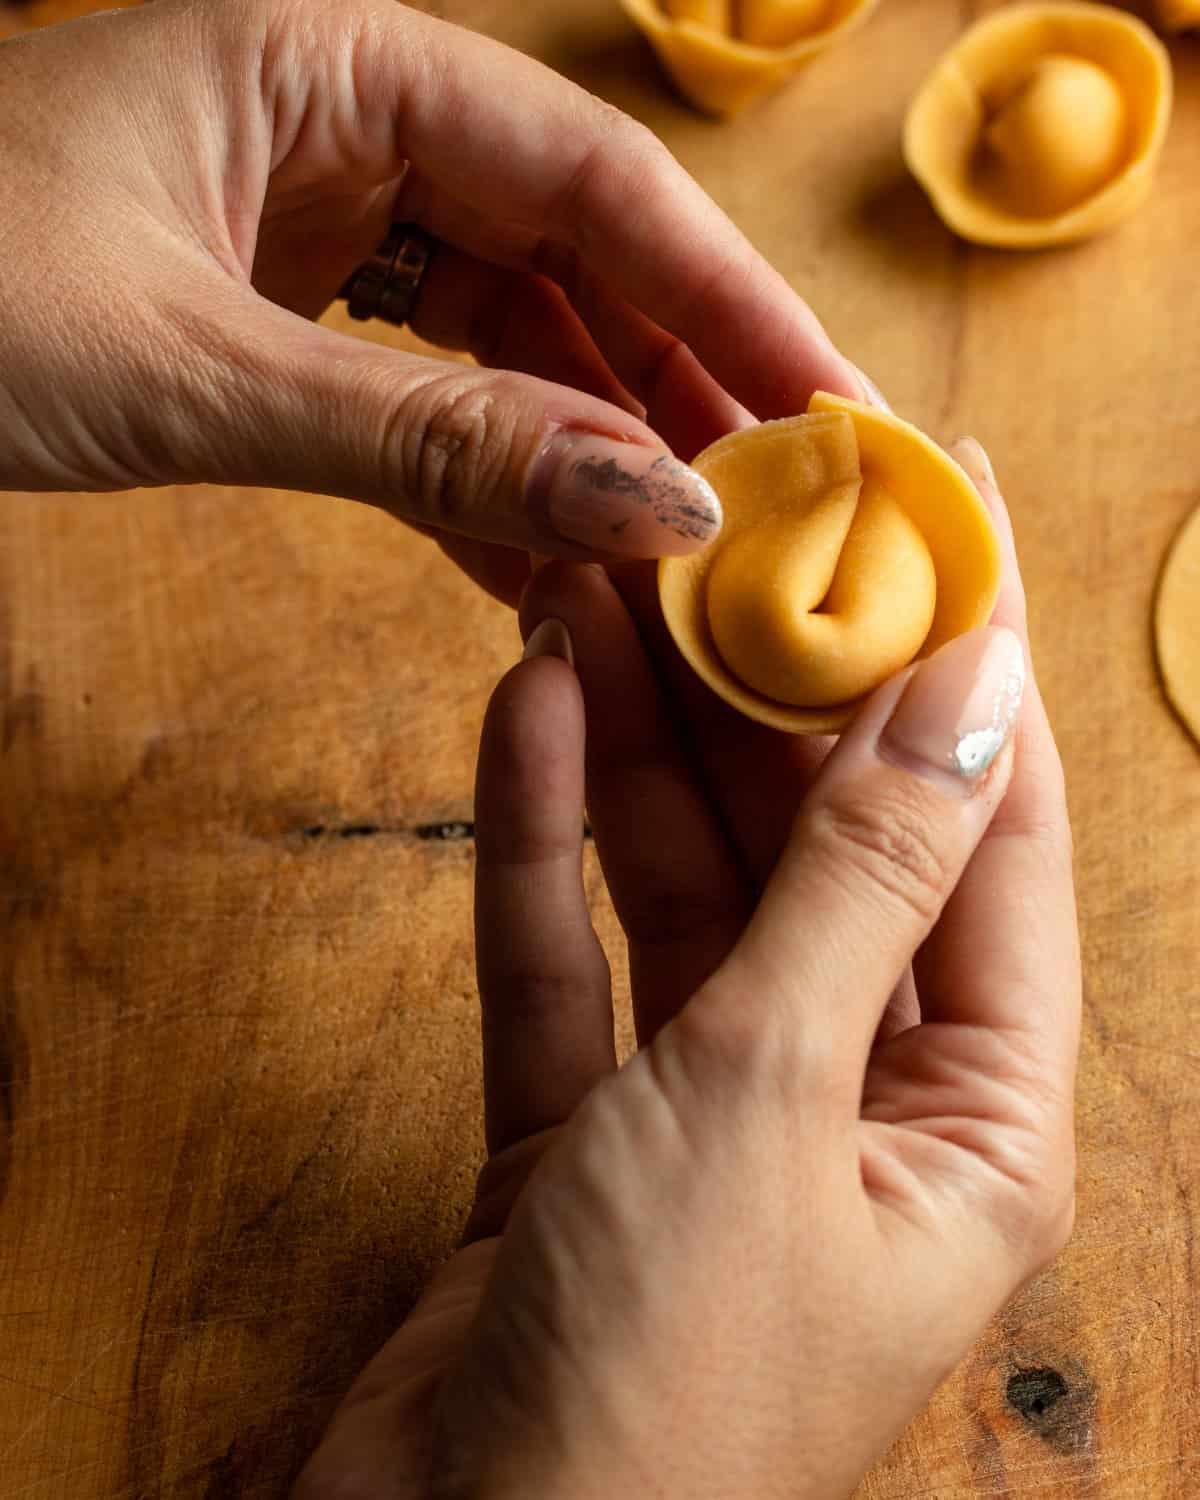
5. Hold it up like this on the cutting board so the edge folds under itself.

6. Push down into the middle of the filling to make an indent.

7. Pick up and bring the two points together.

8. Overlap the points and press really firmly to seal.
Would you like to save this?
Expert tips
- Don't work with too much pasta dough at a time and keep the rest tightly wrapped. Working with less at a time means less likelihood the circles will dry out as you shape the pasta.
- If it's your first time then folding might take a little longer so you can pop any unused circles on a tray lined with parchment paper under a damp tea towel.
- Any pasta scraps you have from cutting out circles can be re-rolled. Roll them into a ball, wrap up in plastic wrap and re-roll.
- Don't have your water boiling too vigorously when cooking as it can lead to breaking/bursting.
What sauces are best?
Cappelletti is traditionally served in broth. A great cosy winter meal and you can boil the pasta straight into the broth.
I love to serve filled pasta with a butter sauce as I feel like it lets the pasta shine. You can check out my Guide to the Best Butter Sauce for Pasta. I love using my 10 Minute Brown Butter for Pasta.
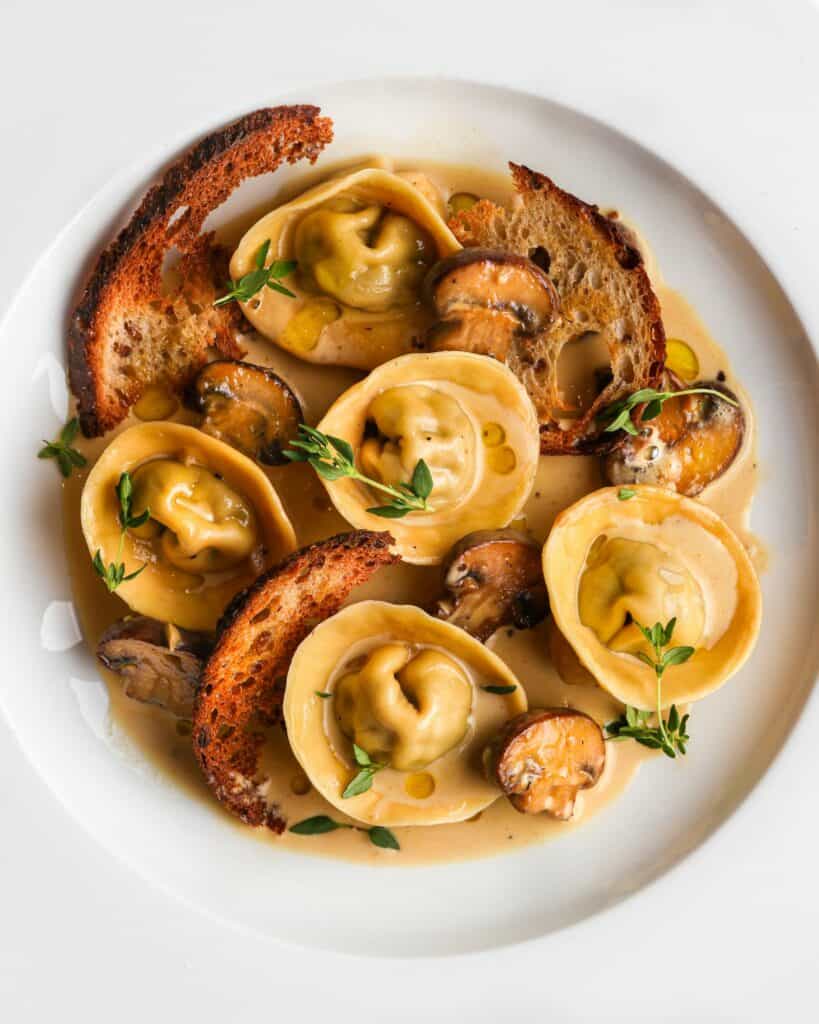
This photo below is a Mushroom Cappelletti in a Creamy White Wine Sauce. A recipe I wrote for Trinity Hill Wines which is very delicious!

Storing cappelletti
Lucky for you I have a guide on how to store ravioli, this is if you aren't cooking straight away.
If cooking straight away
They will happily sit out on your bench loosely covered with plastic wrap for up to an hour. Any longer than that the edges will start to dry out and harden and they won't re-hydrate in the water. If cooking the day (or week or month) after I would highly recommend using my storage guide and freezing.
Storing filled pasta in the fridge makes them go really sticky. If you need to store for only a couple of hours put them in the fridge on a very thick layer of course semolina, a pizza box if your best bet as it keeps them dry. Fridges are very moist environments.
Freezing ravioli
This is my preferred method of storing. It's super easy and you can cook them straight from frozen. You will never be able to taste the difference, they taste completely fresh when using my method of blanching, drying and freezing.
If you are cooking any kind of filled pasta for guests then I highly recommend pre-making and freezing. That way you wont be tired and overworked for your guests and can just boil some water and make a sauce!
Can you make gluten free filled pasta?
Yes! I have a Gluten Free Pasta Dough recipe that is perfect for making filled shapes! The dough takes an extra few steps in the rolling process to make sure it is strong enough to shape into cappelletti.
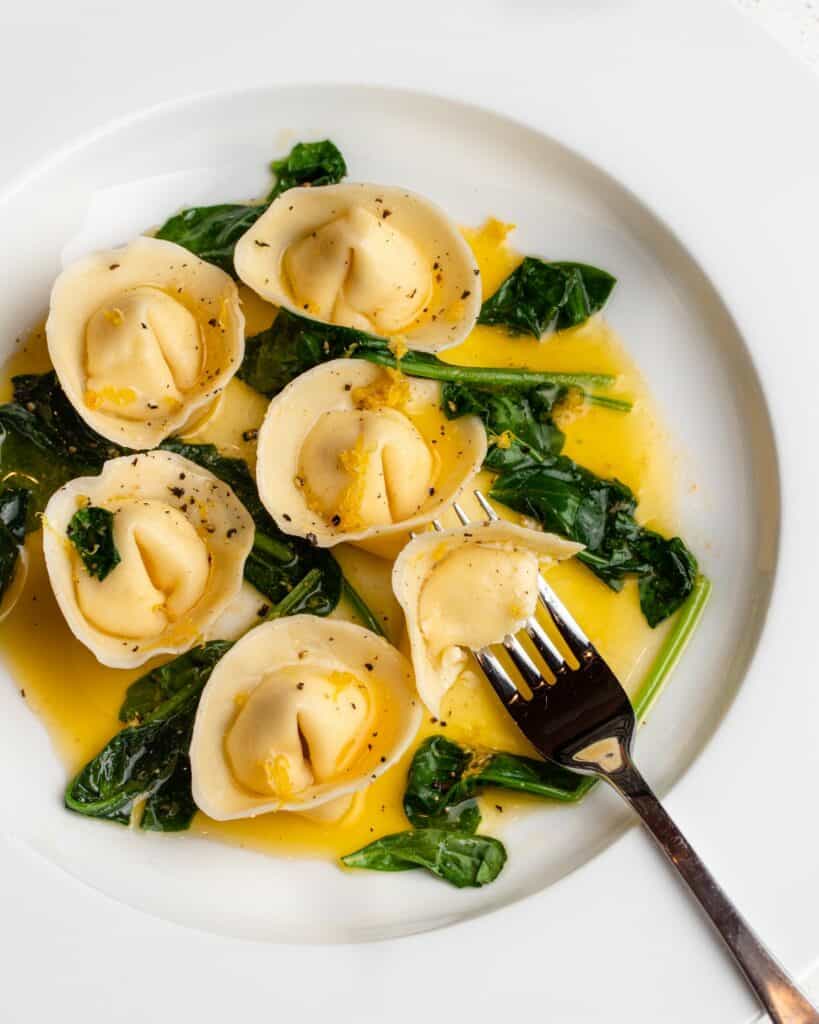
This photo below is gluten free and you would never be able to tell when you eat it. These ones are filled with my White Pork Ragu and served in a lemon butter sauce with some wilted baby spinach.

Made this recipe and loved it?
I would love love LOVE if you could leave me a review down below and let me know what you thought! Also if you put a photo on instagram, please tag me so I can see, it makes my day!
Recipe

How to Make Cappelletti (easy filled shape!)
Would you like to save this?
Ingredients
- 1 x batch of my easy homemade pasta dough
- 1 x filling of your choice see notes
Instructions
- Make sure you check out the step by step photos above and video below.
- Make the pasta dough and rest for at least 30 minutes and up to an hour.
- Make your filling, I always like to chill the filling for 30 mins - 1 hour if possible as it's easier to shape pasta around a slightly hardened filling.
- Working with a quarter (or even ⅙th) of your dough at a time, roll out sheets to setting 6 on a marcato or 7 on a kitchen aid attachment.
- Cut out circles using a 8cm (3.15 inch) cookie cutter. Alternatively use a glass and run a knife around it. They can be any size you like, this is just a guide.
- Pipe or dollop a teaspoon of filling into the middle of the circle.
- Fold the circles into a half moon shape, pressing the air out as you go. I like to start at one side of the filling and go around it, pressing the air out until I reach the other side.
- Press the two layers of pasta together really firmly.
- Hold the shape up with the circular edge downwards and fold the edge under itself.
- Press an indent into the filling.
- Bring each point around to meet and overlap, pressing together firmly.
- Place the finished cappelletti on a tray lined with parchment paper and dusted with semolina.
- Cook in well salted boiling water for 4 - 5 minutes.
Video
Notes
- Use my Simple Ricotta Ravioli Filling or anything you like! Check out my filled pasta section for some other ideas.


Harriet Lai says
The folding instructions were so great, super easy to make!
Emilie Pullar says
Yay thanks Harriet! 🙂